


- VERSION – 1.7: Released on 2019-02-25
- [+] HTTP Server Optimizations
- [+] HTTP Server Optimizations
- VERSION – 1.5: Released on 2018-11-07
- [+] Alexa discovery
- [+] Alexa discovery
- VERSION – 1.4: Released on 2017-11-14
- [+] HTTP Authorization
- [+] WebSocket Authorization
- VERSION – 1.3: Released on 2017-03-10
- [+] WebSockets functions
- [+] WebSockets functions
- VERSION – 1.2: Released on 2016-11-02-
- [+] MQTT functions
- [+] MQTT functions
- VERSION – 1.0: Released on 2016-09-22
- [+] Initial Release
User Documentation for
RN4CE8, TN4CE8, RP4CE8, RP1CE8
v1.7

$19.90

$24.50

$17.50

$18.90
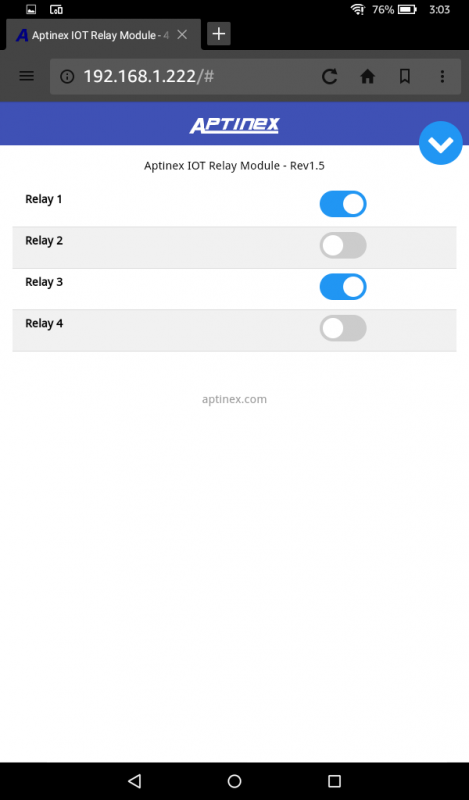
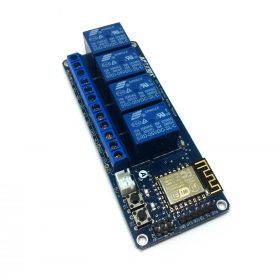
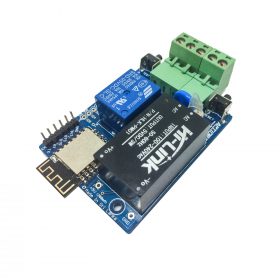
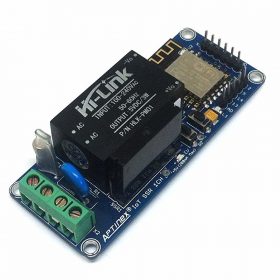
ESP8266 based Aptinex IOT modules are the first IOT related device manufactured by Aptinex along with many other oncoming IOT devices. The main objective of Team Aptinex in designing this was to ease the controlling applications related to smart home, lighting etc. This unit is based on famous wifi module ESP8266 and is having a pre-flashed firmware which enables users to controll Relays/Triacs/SSRs and changing settings
This document only contains the software capabilities of the modules please visit each product pages for detailed hardware specifications.
1.2 HTTP Server (REST API)
This section of the document describes the REST API and resources provided by the module. The REST APIs are for developers who want to integrate the module into their applications.
These REST API enpoints provide access to resources (data entities) via URI paths. To use a REST API, your application will make an HTTP request and parse the response. The response format is JSON. Your methods will be the standard HTTP methods like GET, PUT, POST and DELETE.
Because the REST API is based on open standards, you can use any web development language to access the API.
User Session - GET /session
Shows the information about the current user session.
| URL | /session |
|---|---|
| Methord | GET |
| URL Params | none |
| Data Params | none |
| Success Response | Code: 200 OK Content: {"status":"success", "session":"guest"} |
| Error Response | not defined |
| Sample Call |
$.ajax({url: "/session",dataType: "json",type: "GET",success: function(r) {console.log(r);}});
|
Set GPIO - GET /set
Set the state of GPIOs.
| URL | /set | ||||||||||||
|---|---|---|---|---|---|---|---|---|---|---|---|---|---|
| Methord | GET|POST | ||||||||||||
| URL Params |
|
||||||||||||
| Data Params | none | ||||||||||||
| Success Response | Code: 200 OK Content: {"status":"success"} |
||||||||||||
| Error Response | Code: 500 Content: {"status":"fail", "message":"bad args"}
Code: 403 Forbidden |
||||||||||||
| Sample Call |
$.ajax({url: "/set?gpio=15&value=1",dataType: "json",type: "GET",success: function(r) {console.log(r);}});
|
Get GPIO - GET /get
Get the state of all GPIOs.
| URL | /get |
|---|---|
| Methord | GET |
| URL Params | none |
| Data Params | none |
| Success Response | Code: 200 OK Content: {"status" : "success", "event" : "gpio_get", "data" : {"4" : 0, "5" : 0, "12" : 0, "13" : 0, "14" : 0, "15" : 0}} |
| Error Response | Code: 403 Forbidden Content: {"status":"fail", "message":"unauthorized"} |
| Sample Call |
$.ajax({url: "http://192.168.1.22/get",dataType: "json",type: "GET",success: function(r) {console.log(r);}});
|
User Login - GET /login
User login.
| URL | /login | ||||||||||||
|---|---|---|---|---|---|---|---|---|---|---|---|---|---|
| Methord | GET | ||||||||||||
| URL Params |
|
||||||||||||
| Data Params | none | ||||||||||||
| Success Response | Code: 200 OK
Content: Header: |
||||||||||||
| Error Response | Code: 401 Unauthorized Content: {"status":"fail", "message":"unauthenticated"}
Code: 400 Bad Request |
||||||||||||
| Sample Call |
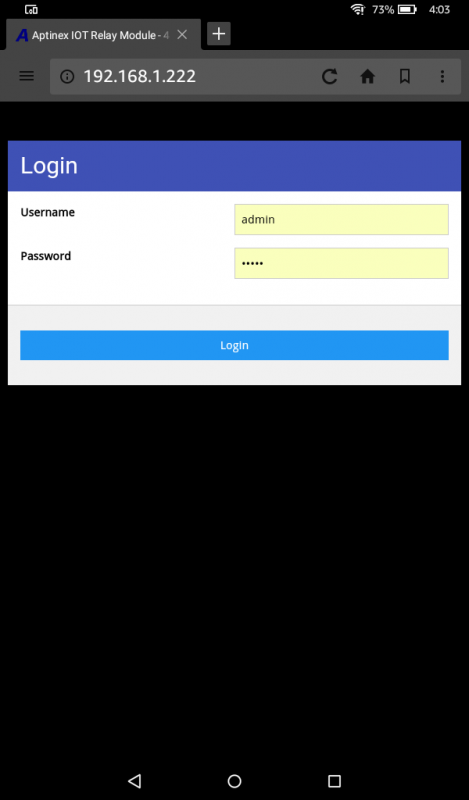
$.ajax({url: "http://192.168.1.222/login?user=admin&pass=admin",dataType: "json",type: "GET",success: function(r) {console.log(r);}});
|
Change Password - GET /pass
Change admin password.
| URL | /pass | ||||||||
|---|---|---|---|---|---|---|---|---|---|
| Methord | GET|POST | ||||||||
| URL Params |
|
||||||||
| Data Params | none | ||||||||
| Success Response | Code: 200 OK
Content: |
||||||||
| Error Response | Code: 401 Unauthorized Content: {"status":"fail", "message":"unauthenticated"}
Code: 400 Bad Request |
||||||||
| Sample Call |
$.ajax({url: "http://192.168.1.222/login?admin=admin",dataType: "json",type : "GET",success : function(r) {console.log(r);}});
|
User Logout - GET /logout
Logout user
| URL | /logout |
|---|---|
| Methord | GET |
| URL Params | none |
| Data Params | none |
| Success Response | Code: 200 OK
Content: Header: |
| Error Response | undefined |
| Sample Call |
$.ajax({url: "http://192.168.1.22/logout",dataType: "json",type: "GET",success: function(r) {console.log(r);}});
|
Get Token - GET /token
Retreve Non-volatile token
| URL | /token |
|---|---|
| Methord | GET |
| URL Params | none |
| Data Params | none |
| Success Response | Code: 200 OK Content: {"status":"success", "token":"b4ecab6e0f018b40"} |
| Error Response | Code: 403 Forbidden Content: {"status":"fail", "message":"unauthorized"} |
| Sample Call |
$.ajax({url: "http://192.168.1.22/token",dataType: "json",type : "GET",success : function(r) {console.log(r);}});
|
Reset Token - DELETE /token
Reset Non-volatile token
| URL | /token |
|---|---|
| Methord | DELETE |
| URL Params | none |
| Data Params | none |
| Success Response | Code: 200 OK Content: {"status":"success", "token":"b4ecab6e0f018b40"} |
| Error Response | Code: 403 Forbidden Content: {"status":"fail", "message":"unauthorized"} |
| Sample Call |
$.ajax({url: "http://192.168.1.22/token",dataType: "json",type : "DELETE",success : function(r) {console.log(r);}});
|
Set Factory Default - DELETE /config.json
Set the moduke to factory default state
| URL | /config.json |
|---|---|
| Methord | DELETE |
| URL Params | none |
| Data Params | none |
| Success Response | Code: 200 OK Content: {"status":"success"} |
| Error Response | Code: 403 Forbidden Content: {"status":"fail", "message":"unauthorized"} |
| Sample Call |
$.ajax({
|
1.4 Authentication
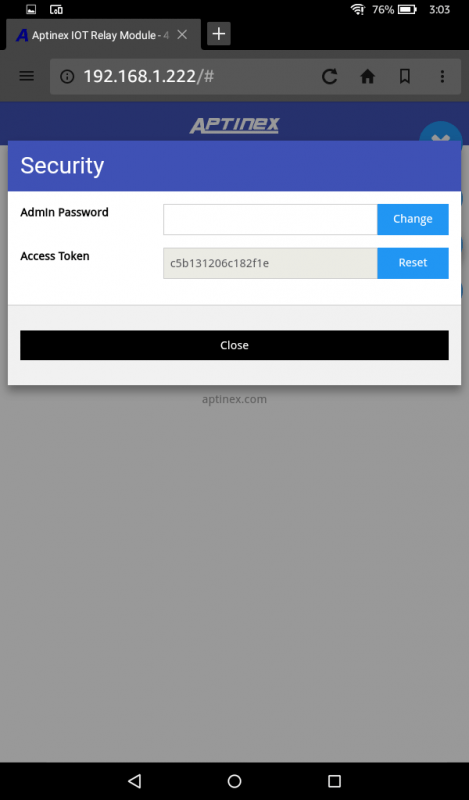
Aptinex IOT modules provide a token based authentification schema in both HTTP & WebSocket services. Authentification feature is enabled by default and can be enabled via HTTPServer/WebUI. There are two types of tokens available in the device.
- Volatile token – token is generated/reset at each successful user login event (HTTPServer) and the token is discarded after the power cycle.
- Non-volatile token – non-volatile token is useful when the device to be controlled via custom applications. The non-volatile token can be generated/reset via HTTPServer/WebUI
1.3 WebSocket Server
From v1.4 Aptinex IOT Modules uses both HTTP and WebSocket protocols. WebSocket is a bi-directional protocol where there are no pre-defined message patterns such as request/response. Either the client or server can send a message to the other party.
1.3.1 Connection
The module uses the PORT 81 to drive the WebSocket connections. If the authentication is enabled module searches for a valid token inside the headers during WebSocket handshake.
Developers can obtain a valid token using the REST API.
Node js Example
var WebSocket = require('ws');var cookie = require('cookie');var ws = new WebSocket('ws://192.168.1.222:81',[],{'headers': {'Cookie': cookie.serialize('token', '22b19dfbc2177608')}});
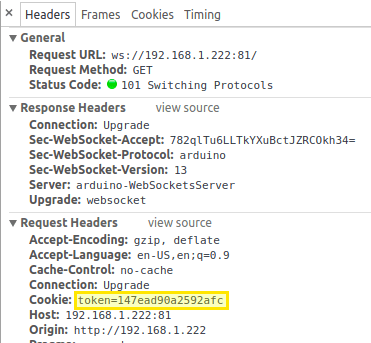
Headers of ws connection
1.3.2 Messages
The WebSocket feed uses a bidirectional protocol, which encodes all messages as JSON objects. All messages have an event attribute that can be used to handle the message appropriately.
GPIO Get
When a state of any IOs has changed, all connected clients receives a messages according to the following format
{"status": "success","event": "gpio_get","data": {"4": 0,"5": 0,"12": 0,"13": 0,"14": 0,"15": 1}}
GPIO Set
Clients can send messages according to the following format to trigger gpio events
{"event": "gpio_set","data": {"gpio": 5,"value": 1}}
Request GPIO Get
A websocket clients can send following message to request the current status of all enabled GPIOs
{"event": "get_gpio"}
sample Response
{"status": "success","event": "gpio_get","data": {"4": 0,"5": 0,"12": 0,"13": 0,"14": 0,"15": 1}}
1.5 MQTT Client
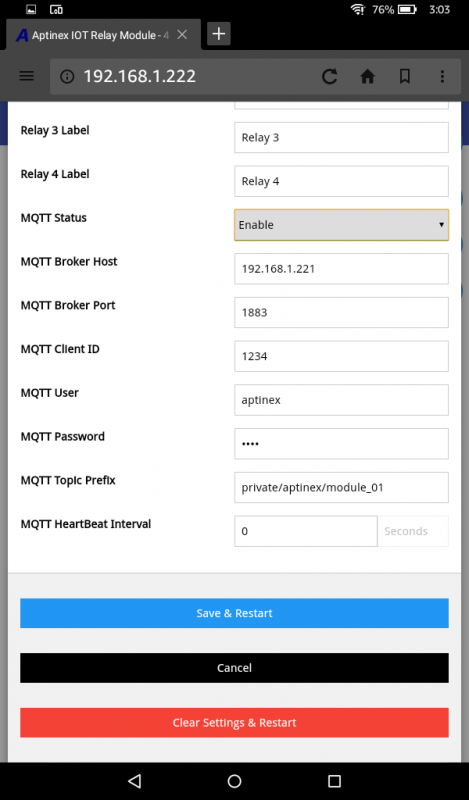
The module can operate as an MQTT client. MQTT settings can be set at the settings page of the web UI.
- MQTT Status: Can enable or disable MQTT Mode
- MQTT Broker Host: IP address of the MQTT broker . Can be local or public. But if the host is public ,it may be needed to add a NAT (Network Adrress Translation) at the router depending on your scenario.
- MQTT Broker Port: The port that is goint to be used for MQTT communication , check with your MQTT Broker
- MQTT Client ID: Unique id for the client to be connected to the MQTT Broker
- MQTT Username / Password : These are for the client to be authenticated at the MQTT Broker
- MQTT Heartbeat Interval : MQTT keepalive time ,which the client commits by sending regular PING Request messages to the broker
GPIO Events
Module subscribes to this topic & operate the GPIOs accordingly, when a gpio event is triggered from another communication channelmodulepublishers a MQTT message to relevant topic
| TOPIC | <topic_prefix>/gpio/<gpio_pin> |
|---|---|
| TOPIC SAMPLE | private/aptinex/1001/gpio/12 |
| Payload | 0, 1 |
Heartbeat
| TOPIC | <topic_prefix>/status |
|---|---|
| TOPIC SAMPLE | private/aptinex/1001/status |
| Payload | 1 |
1.6 Alexa Support
From v1.5 Aptinex IOT Modules can be controlled via Alexa.
- Update Relay labels using in-built web UI (eg: Living Room Light, Kitchen Light)
- Enable Alexa discovery feature of the module using in-built web UI
- Selects the ‘discover devices’ link in the Smart Home section of the Alexa app, or verbally commands it by saying “Alexa, discover devices.”
- Say “Alexa, turn on Kitchen Light” or “Alexa, turn off Kitchen Light”
* Don’t enable both Alexa & MQTT at the same time. The device will fail to handle both services at the same time
2 – GPIO Map
|
RN4CE8
|
RP4CE8
|
RP1CE8
|
TN4CE8
|
RP1CE8
|
|
|---|---|---|---|---|---|
| GPIO_0 | BUTTON_S2 | BUTTON_S2 | BUTTON_S2 | BUTTON_S2 | BUTTON_S2 |
| GPIO_2 |
INTERNAL_LED |
INTERNAL_LED | INTERNAL_LED | INTERNAL_LED | INTERNAL_LED |
| GPIO_4 | N/A | N/A | N/A | N/A | SSR_1 |
| GPIO_5 | N/A | N/A | N/A | N/A | N/A |
| GPIO_12 | RELAY_1 | RELAY_1 | N/A | TRIAC_1 | N/A |
| GPIO_13 | RELAY_2 | RELAY_2 | N/A | TRIAC_2 | N/A |
| GPIO_14 | RELAY_3 | RELAY_3 | N/A | TRIAC_3 | N/A |
| GPIO_15 | RELAY_4 | RELAY_4 | RELAY_1 | TRIAC_4 | N/A |
* Irrespective of their hardware designs, GPIO_4,GPIO_5,GPIO_12,GPIO_13,GPIO_14 & 15GPIO_GPIO can be controlled and lisned via HTTP, MQTT and WebSocket